1, Product loading
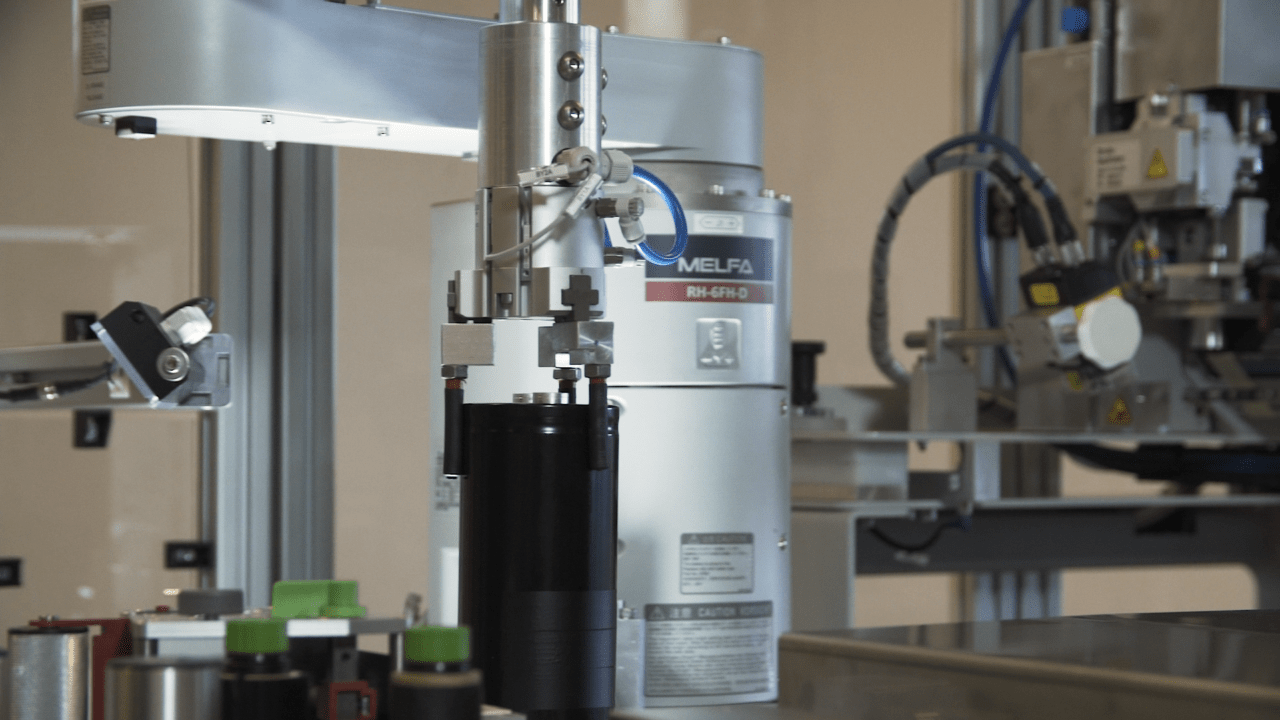
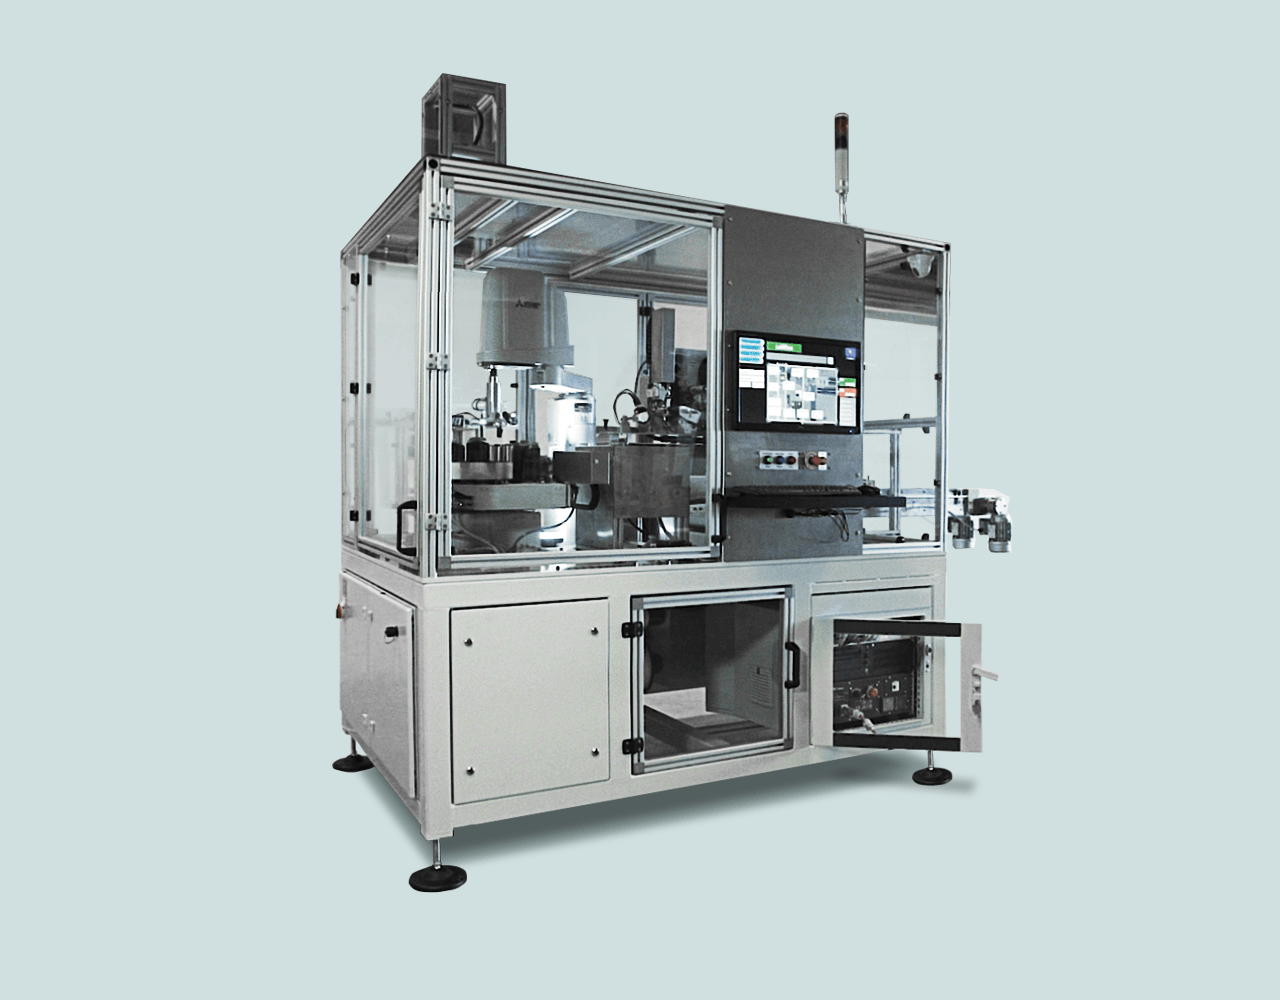
In the first step, the robot examines the product to be loaded to the module and rotates it to the position optimal for labeling.
- Loading
- The product enters the loading belt – the products push each other to the belt.
- Sectioning: it lets only one product into the prism at once where an optical sensor is in operation. The upper camera inspects the angle position of the product: this information is forwarded to the robot that rotates the product in the right angle in accordance with it.
2, Color detector
The product is forwarded to the color detector and is checked whether the loading was successful or not.
3, Side labeling + checking
The custom made silicon-mold vacuum head places the first label laterally. The equipment then checks whether the label is in the proper place. The product is rotated and elevated to the adequate position by the robot.
4, Bottom lableing + checking
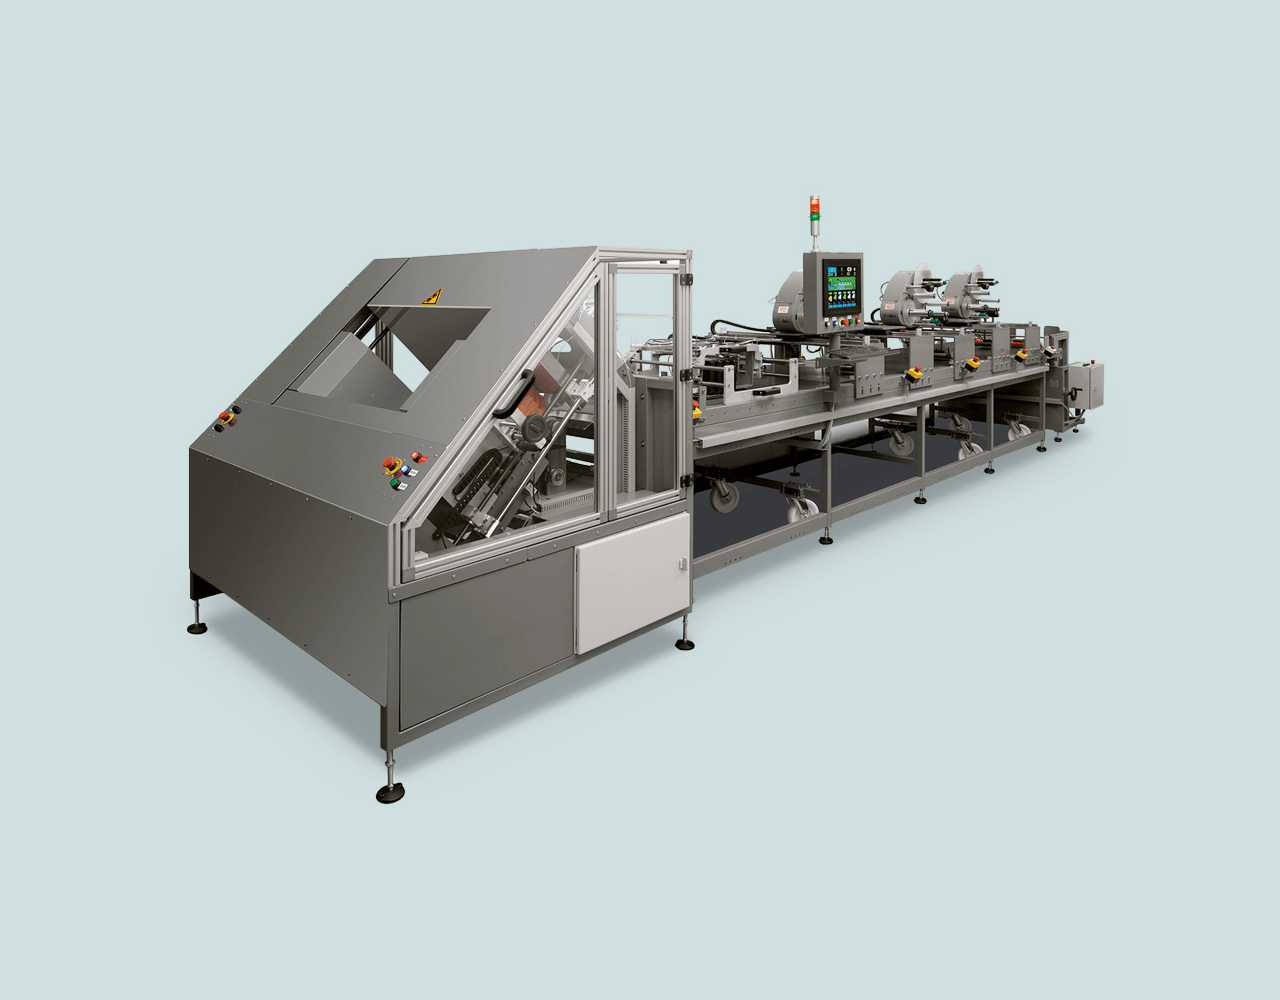
The bottom label is placed on the bottom of the product by a labeling applicator after moving. This step is also followed by a check.
5, Upper labeling + checking
The last label is placed on the product from upwards. Subsequent to placing the product to a linear moving unit by the robot, the last label is placed on the product from upwards that is followed by another check. It is aimed at reducing the cycle term, so when the last label is placed on the product, the robot is already moving another one.
6, Validation
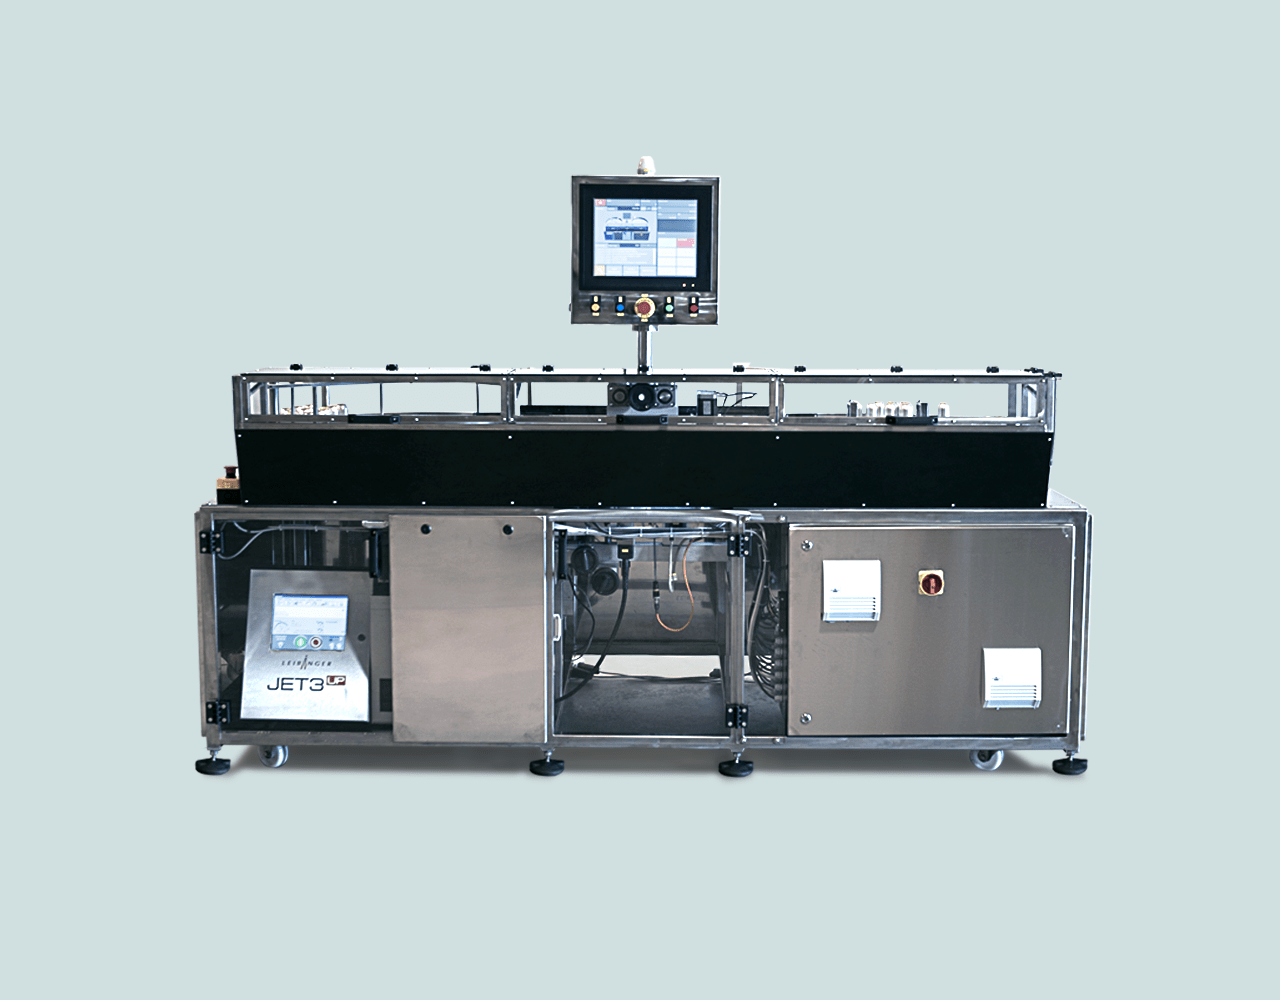
Subsequent to all labeling and checking, the software evaluates the outcomes of the readings and decides whether the product belongs to the “good” or to the “substandard” category. In accordance with the result, a pneumatic pushing machine then pushes the product to the adequate one of the two conveyor belts dedicated to “good” and “substandard” category products. The equipment is able to differentiate among the defects, and the conveyor belt may be configured not only to good and substandard category, but also to a specific defect type.


